How to Prepare a Landscape Project for a Professional Photoshoot
You’ve completed a stunning landscape project, and now it’s time to showcase your work with professional photography. High-quality images are essential for attracting new clients, winning awards, and building your brand. However, capturing the full beauty of your project requires thoughtful preparation. Follow these key steps to ensure your landscape is photo-ready and makes the best impression.
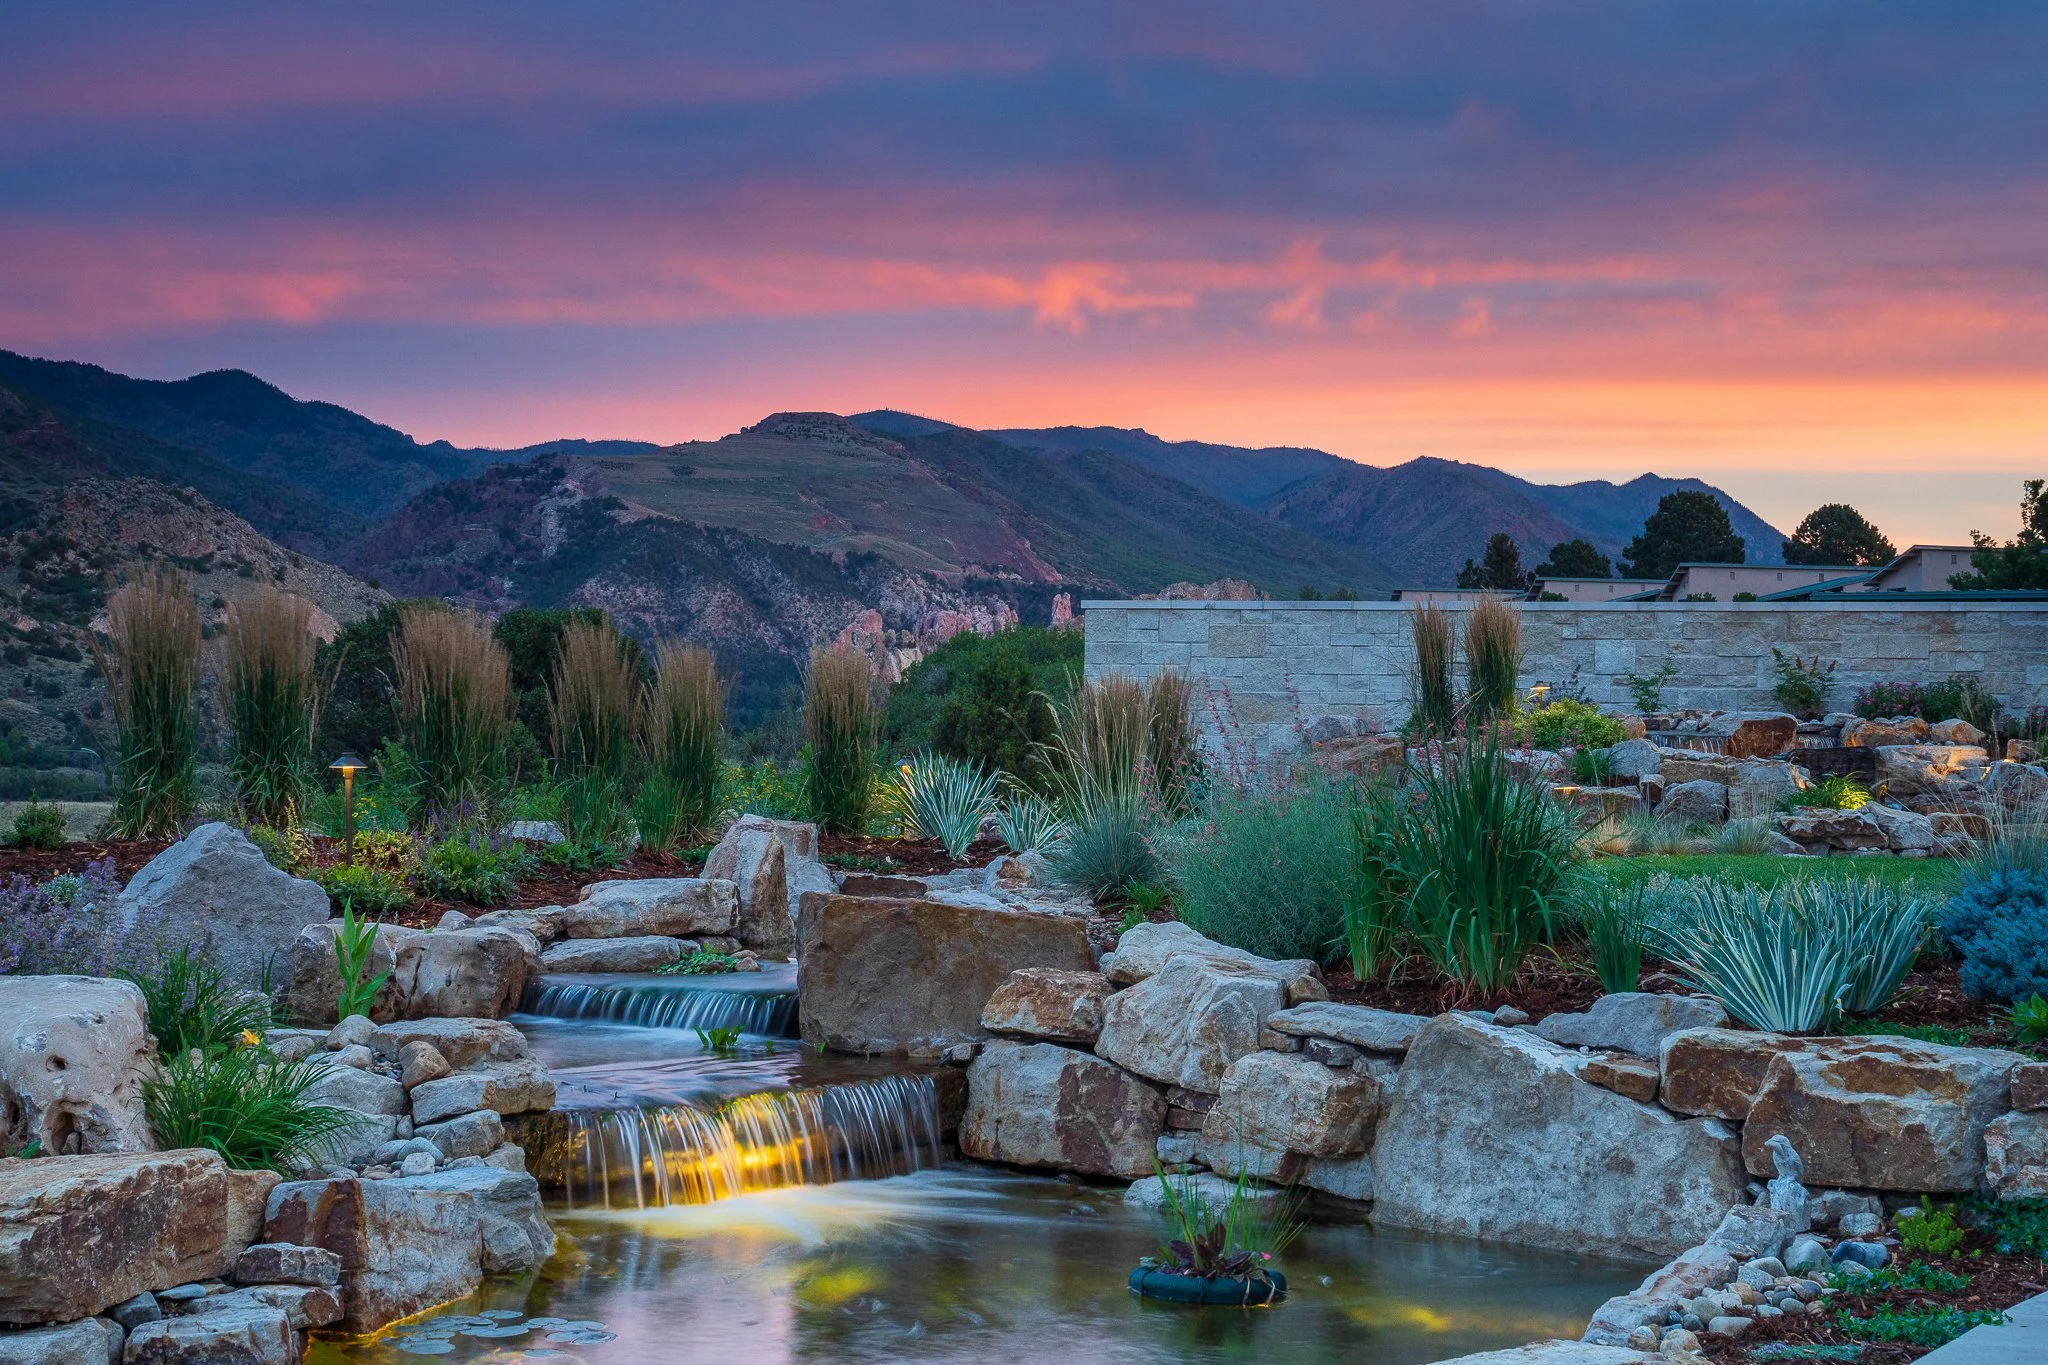
Stunning sunrise views over Garden of the Gods in Colorado make this backyard landscape go from great to amazing! Minutes later, the light faded and all the dramatic color in the sky was gone!
1. Choose the Right Time of Day
Lighting is one of the most critical factors in photography. The best times for outdoor shoots are early morning or late afternoon when the sunlight is soft and creates natural shadows. Avoid shooting in harsh midday sun, which can create overexposed highlights and deep shadows that obscure details. There’s not much for you to prepare here, except to schedule the shoot appropriately.
2. Clean and Tidy the Space
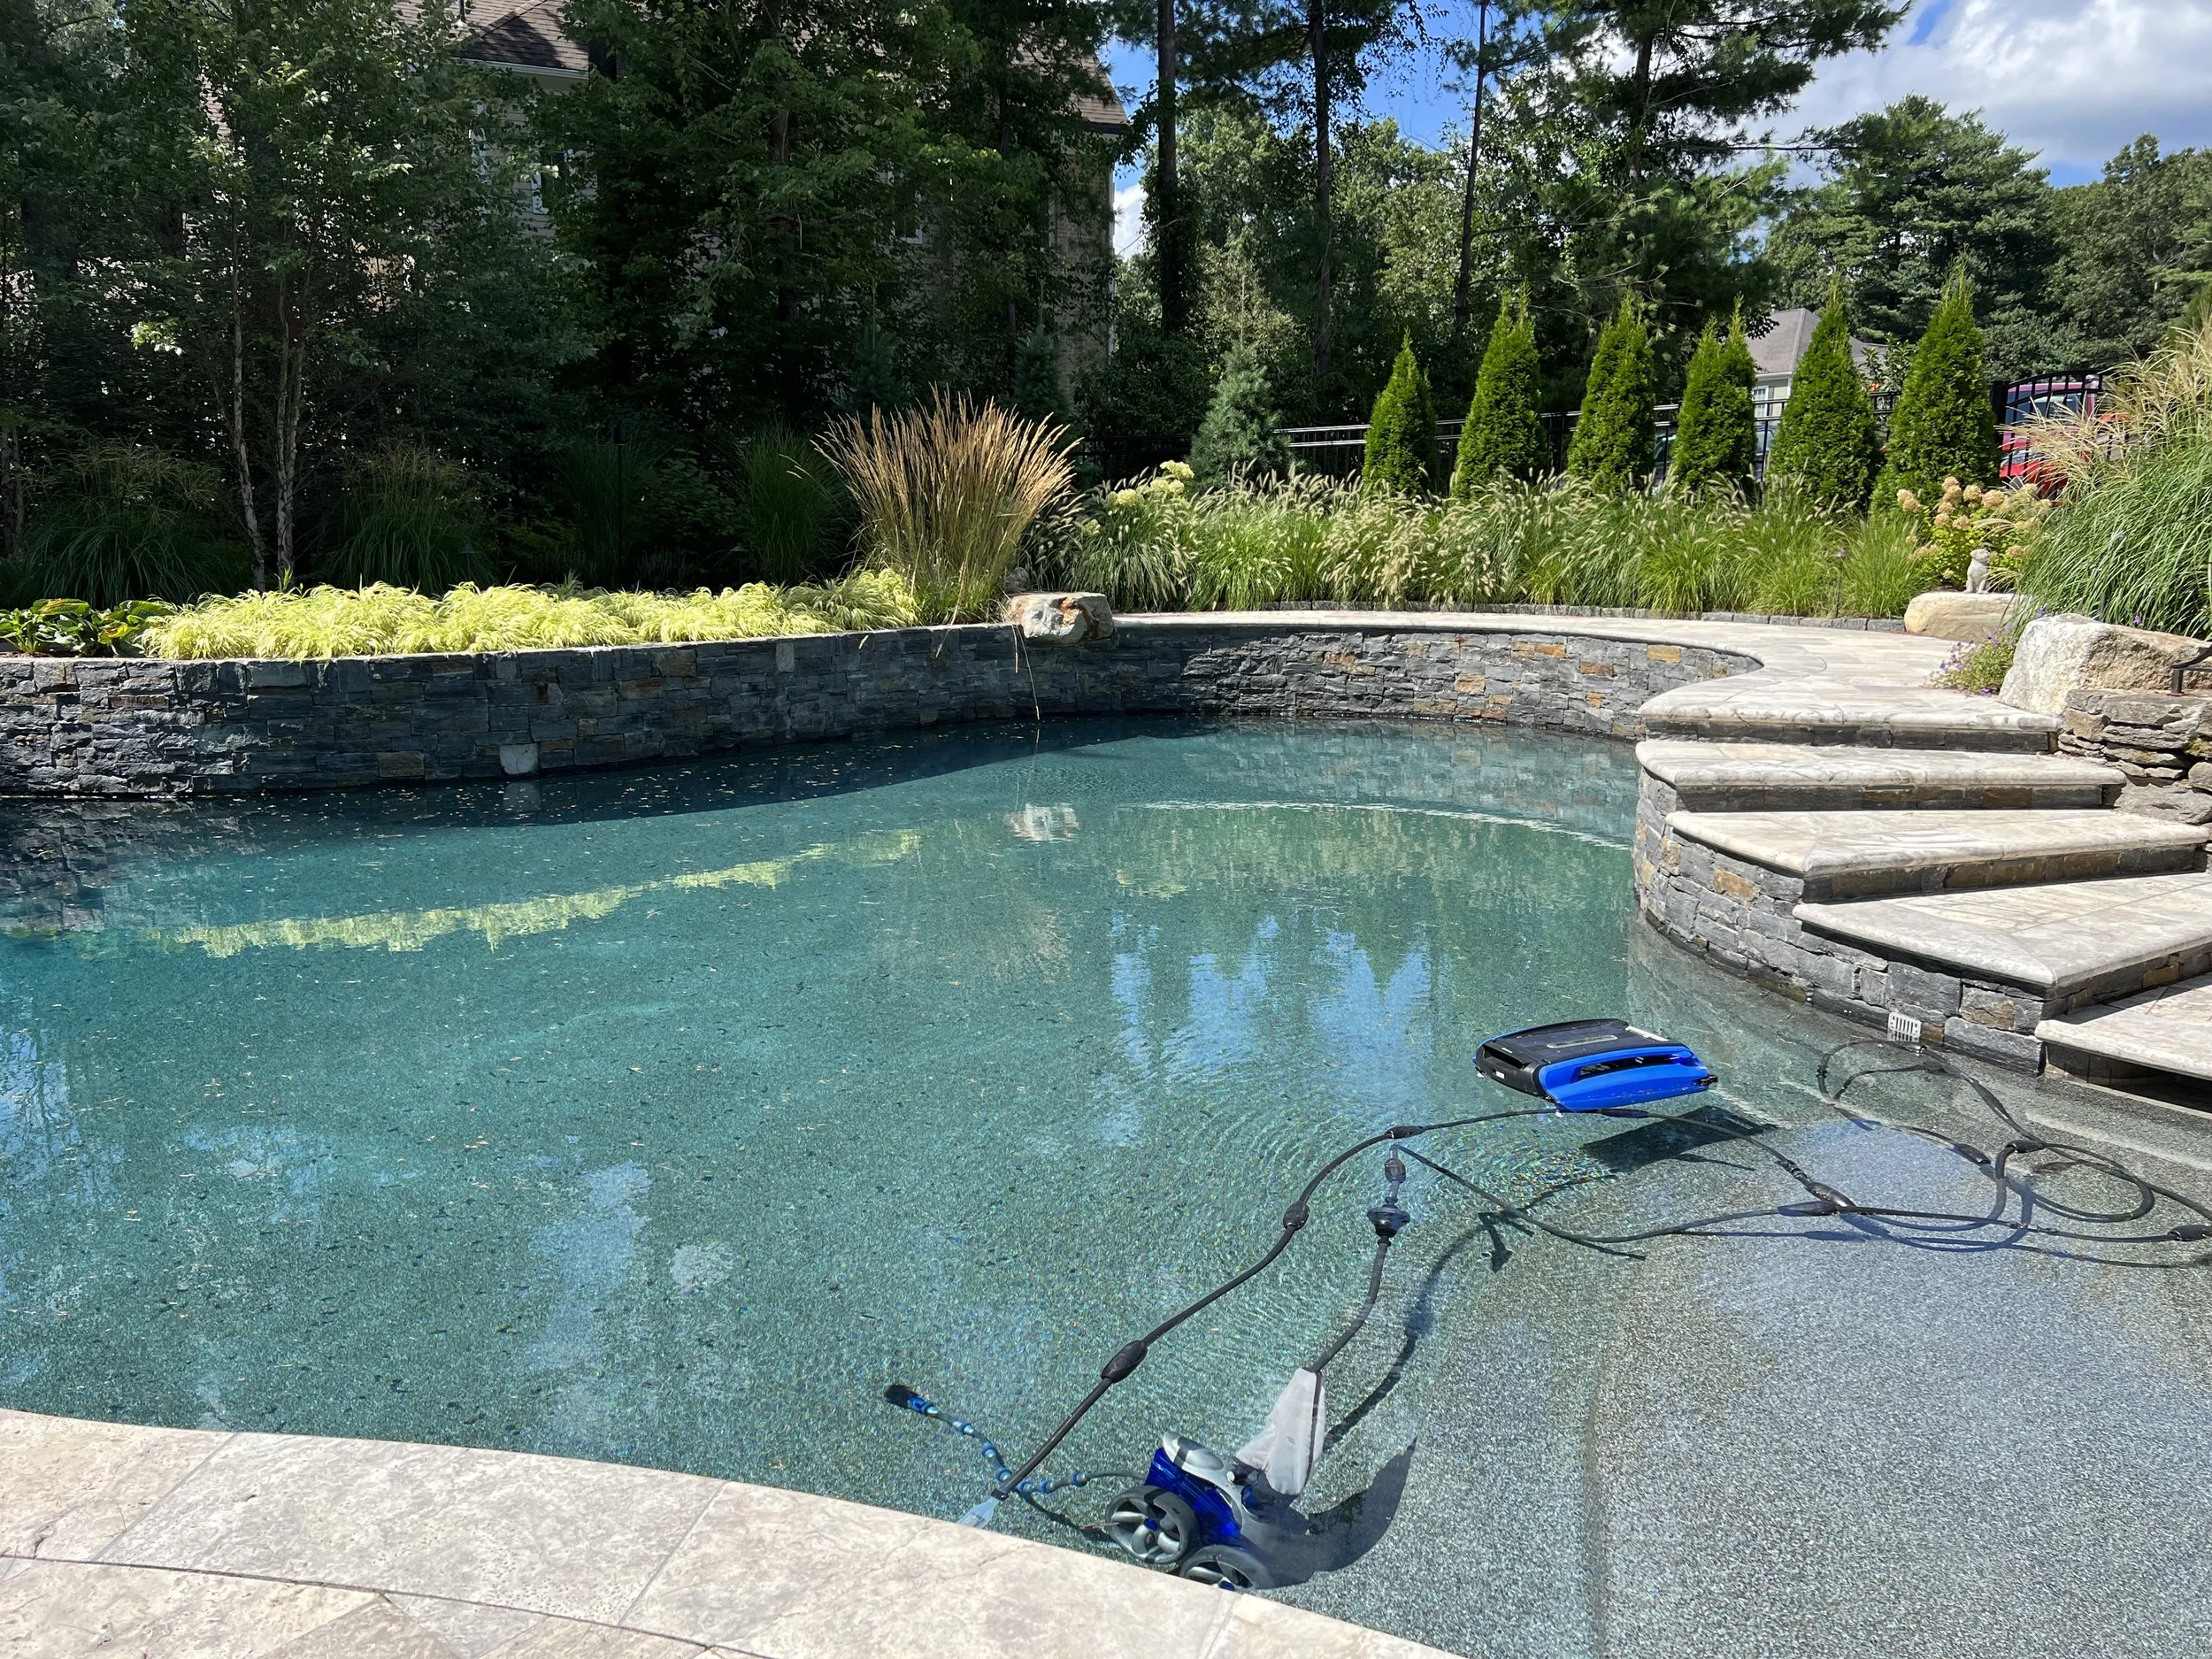
This site is almost ready but the pool cleaner needs to be removed so there’s time for the patio to dry out before shooting.
Before the photoshoot, thoroughly clean the landscape. This is the easiest thing to create beautiful images for your portfolio. Remove any debris, fallen leaves, or clutter that could distract from the design. Wash patio surfaces, fluff mulch, and ensure lawns are mowed. Pro-tip, mow the day before you shoot so residual clippings have a chance to settle down. A well-maintained space ensures your project looks its best on camera.
Wipe all surfaces that are metal or shiny. Outdoor spaces gather dust and water spots which can become distracting in the final image. Take a few extra moments and clean and wipe down outdoor kitchen appliances and outdoor light fixtures.
For sites with pools, remove any equipment out of sight and make sure there’s time for things to dry afterwards! Doing this the day before should do the trick to avoid wet spots in the shot.
3. Stage the Space for Visual Appeal

Can you imagine the same image if the table wasn’t set and the fire pit unlit? I can’t either. Take the time and set the stage for a beautiful moment to be captured.
Just like interior photography, outdoor spaces benefit from staging. Arrange patio furniture and add decorative elements like cushions or candles. If the project includes an outdoor dining space, consider setting a table and adding staged food as well. If there’s a fireplace or firepit, light it up to warm up the space with soft and dancing light.
4. Highlight Seasonal Interest
When possible, schedule the shoot when the landscape is at its peak. This means if the site uses masses of ornamental grasses, consider shooting in later summer, when the grasses are likely more mature during the season. Flowering plants and seasonal color can enhance the vibrancy of your images. If shooting in different seasons, capture elements that showcase how the space transforms throughout the year.
5. Incorporate Lighting for Evening Shots
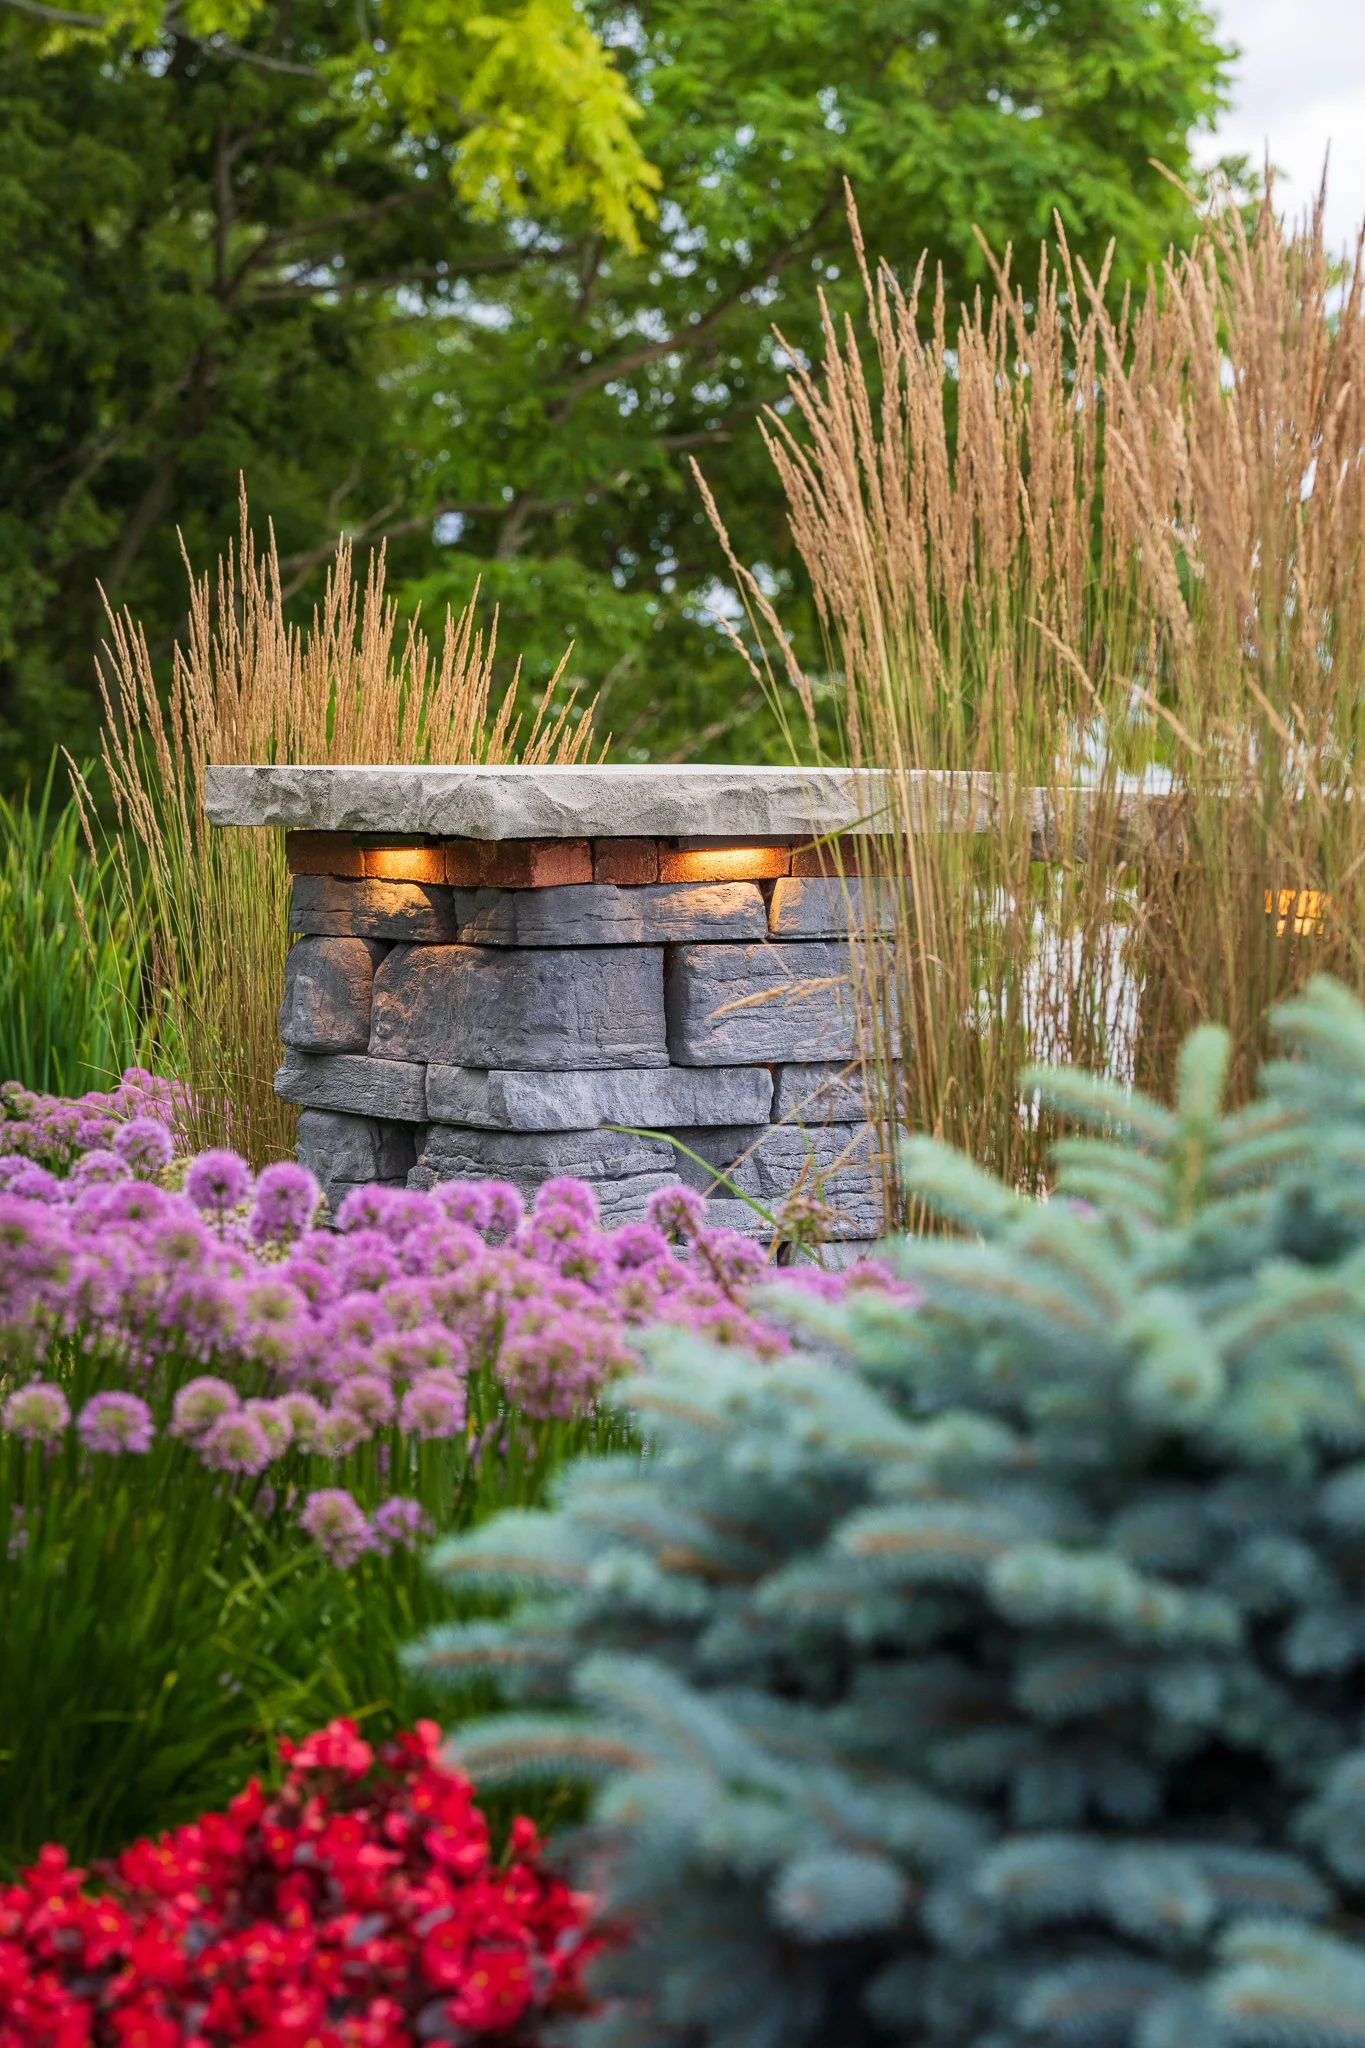
Capturing landscape lighting is a tricky operation because you need less ambient light so the lighting fixtures show up in the image, but not too little ambient light so you can see the rest of the surrounding landscape.
Many landscapes include outdoor lighting. This means you should schedule time for twilight photography. Soft, ambient lighting enhances textures and creates a dramatic effect that highlights pathways, focal points, and outdoor living areas. This timing is important as outdoor lights will become overly bright and you might lose details of the rest of the landscape if shot in pitch dark. Try to capture images with some ambient light so the various elements in the image are balanced with each other. Be sure you have control of the lighting in case you need to toggle lights on or off for the best results.
5. Work with a Professional Photographer
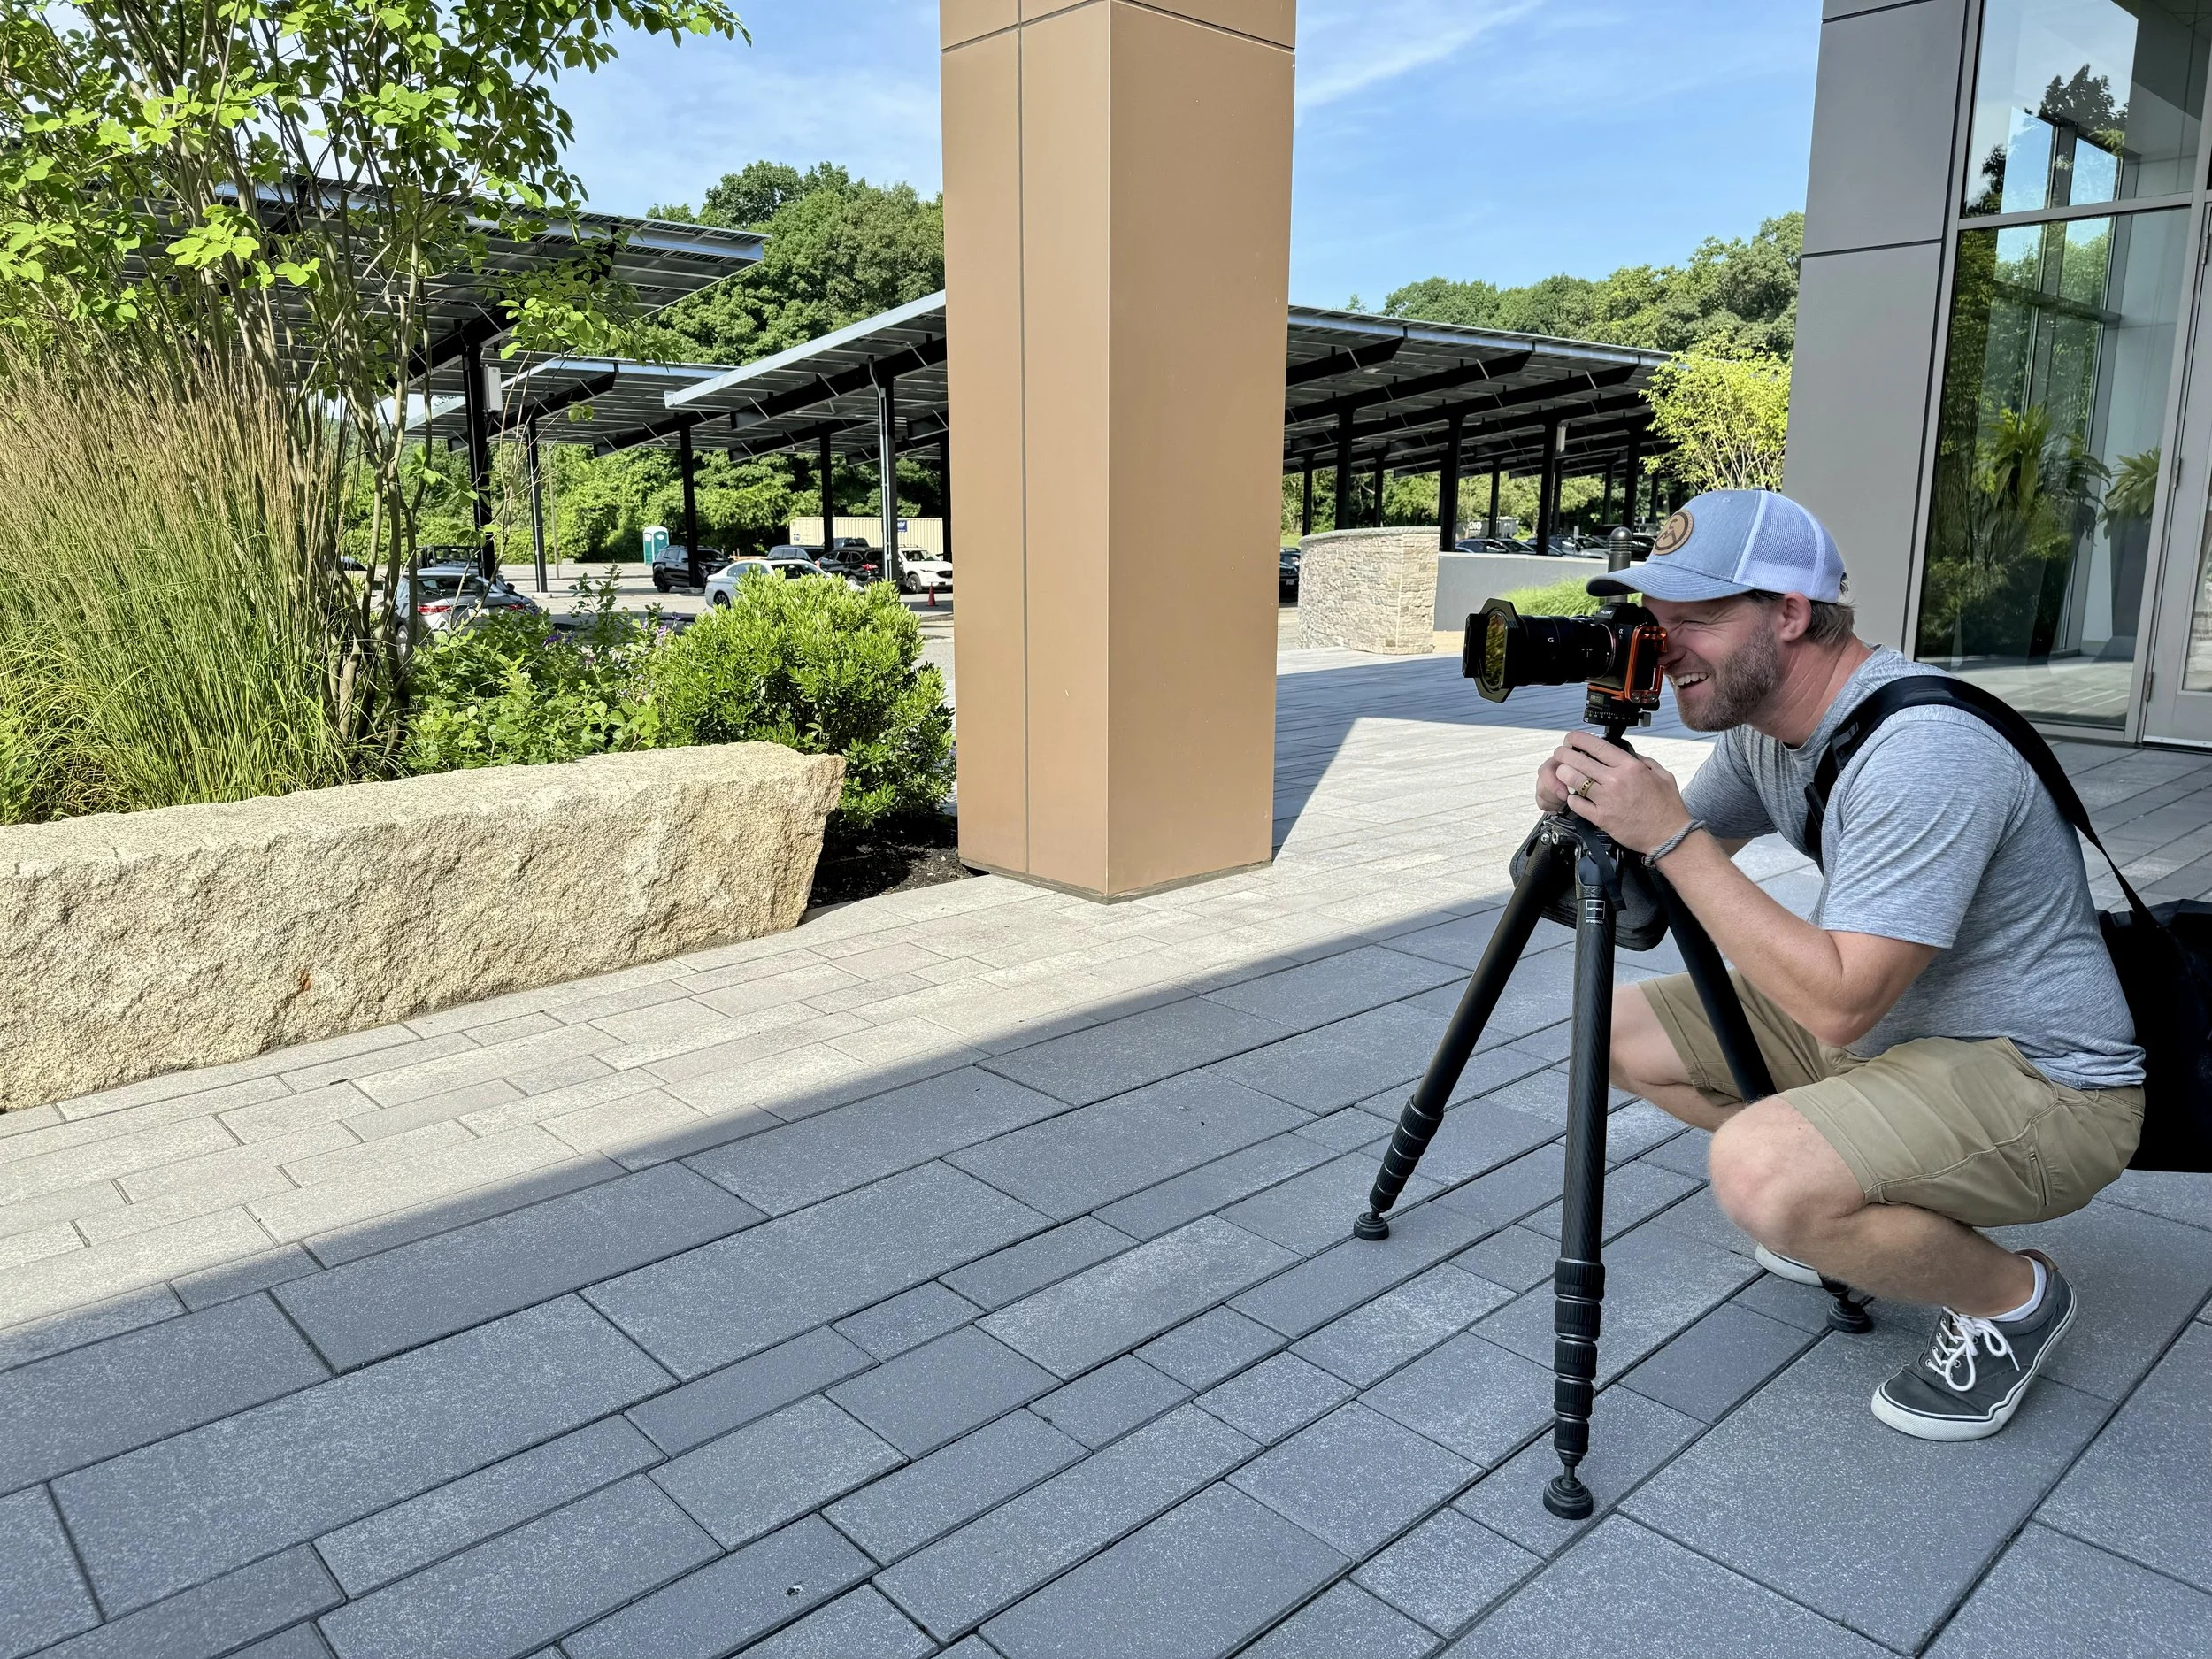
The right gear and the right experience make all the difference in a great photography session versus one that’s just “ok”.
It seems like everyone has a cousin or friend with a “nice” camera. However, good equipment is only a small part of the equation to taking a photo that should be worthy of your portfolio. A skilled photographer understands how to capture landscapes in their best light. They use the right equipment, angles, and composition techniques to bring out the full beauty of your work. Plus, they’ll edit the photos to make sure all the juicy details come forth and take the images to the next level. Investing in professional photography ensures you get high-quality images that do justice to your craftsmanship.
Final Thoughts
A well-prepared landscape makes for stunning photography that enhances your portfolio and attracts new business. By following these steps, you ensure your project is captured at its best, creating images that showcase your expertise and design vision.
Want a Photo Ready Checklist for your next shoot? Download the PDF below!